
Setting up a Next.js app with TypeScript, ESLint, Prettier, and Tailwind CSS
There are a few tools which I use in basically every new web development project: TypeScript, ESLint, Prettier, and Tailwind CSS. As I was spinning up multiple new sites recently, I wrote down this short cheat sheet on how to set these tools up in a new Next.js app.
Update 12 Apr 2022: I now use pnpm instead of yarn as my go-to package manager. Therefore I updated the terminal code samples to use pnpm.
For easy access, I'll start right away with the cheat sheet. Following that, I have a few notes on each step of the cheat sheet, which give some background information on the specific setup. This post is thought as a reference for everyone already familiar with these tools. In a future post I will go into what these tools are and why I use them.
Cheat sheet
Step 1: Next.js app with TypeScript and ESLint
Create a new Next.js app with TypeScript and ESLint and open the newly created project folder in Visual Studio Code:
$ pnpm create next-app -- --typescript <project-name>
$ code <project-name>
Step 2: GitHub
Create an empty repo on GitHub.
Back in Visual Studio Code, use the terminal to add the remote to the local repo and push to GitHub:
$ git remote add origin https://github.com/<username>/<project-name>
$ git push -u origin main
Step 3: Prettier
Install Prettier, create the Prettier config file, and set up .prettierignore:
$ pnpm add -D -E prettier
$ echo {}> .prettierrc.json
$ cp .gitignore .prettierignore
Open package.json and add a format script to run Prettier:
{
    "scripts": {
        "dev": "next dev",
        "build": "next build",
        "start": "next start",
        "lint": "next lint",
+       "format": "pnpm prettier --write ."
    }
}
Execute it:
$ pnpm formatInstall the Prettier ESLint plugin:
$ pnpm add -D eslint-config-prettier…and add it to .eslintrc.json:
{
    "extends": [
        "next/core-web-vitals",
+       "prettier"
    ]
}
Step 4: Tailwind CSS
Install Tailwind CSS—including its peer dependencies—and initialize it:
$ pnpm add -D tailwindcss postcss autoprefixer
$ pnpm tailwindcss init -p
Add the component code folders to tailwind.config.js:
module.exports = {
  content: [
+   "./pages/**/*.{js,ts,jsx,tsx}",
+   "./components/**/*.{js,ts,jsx,tsx}",
  ],
  theme: {
    extend: {},
  },
  plugins: [],
};
Replace the content of /styles/globals.css with:
@tailwind base;
@tailwind components;
@tailwind utilities;
Step 5: Deployment
Push all changes to GitHub. Then import the project into Vercel and deploy.
Notes
Personally I prefer using pnpm; so I used it for the terminal examples. But npm or yarn work of course equally.
Following the notes on the individual steps:
Step 1: Next.js app with TypeScript and ESLint
Spinning up a new Next.js app is easy with Create Next App. This tool already comes with support for setting up a TypeScript Next.js app, so here we just need to remember to specify the --typescript option when creating the new app.
Our new TypeScript Next.js app also comes pre-configured with ESLint. We can run it manually by using pnpm lint. However Next.js already runs ESLint automatically in its build process. In order to see ESLint violations early on, highlighted in Visual Studio Code, I recommend to install the ESLint extension.
In case the code command to open a folder in Visual Studio Code is not recognized, make sure that it is available in the PATH environment variable (setup instructions for MacOS).
Step 2: GitHub
When creating the project, Create Next App already initializes it as a Git repository, so we don't need to do this ourselves. Therefore we just create an empty repo on GitHub and set it as a remote on our existing local repo.
I'm using GitHub, but of course any other Git provider could be used instead.
Step 3: Prettier
The Prettier setup follows the instructions in its docs.
For the .prettierignore file we can just use the same patterns as we have in the .gitignore, which Create Next App set up for us. Not all of these patterns are of relevance for Prettier—however it makes it so much simpler to just copy that file. We can safely assume that we want to format all files which we have committed to the repo; while we don't want and need to format locally generated files. In case this assumption does not hold true we can still let these files diverge.
The purpose of adding the format script to package.json is to make it easy to run it again if needed. This would make sense e.g. after copying multiple code files from another project (which might follow different formatting guidelines) into our repo. The format script could of course also be integrated into the CI build if desired.
For keeping the code files in good shape while editing them, we can use the Prettier extension for Visual Studio Code. This allows to format the current file according to the Prettier configuration using the Format Document keyboard shortcut (Shift + Option/Alt + F on Mac/Windows). Personally I like having the Format on Save option enabled (set editor.formatOnSave to true in the VS Code config); so that all my files get automatically formatted when saving them and thus can't get out of shape accidentally.
Step 4: Tailwind CSS
This setup follows the instructions in the Tailwind CSS docs. As mentioned there, there is actually a Next.js example for Tailwind CSS which would already set up Tailwind when creating the Next.js app. However this does not work together with the --typescript option; therefore we need to set it up manually.
Important: If we want to use any Tailwind class names outside of the configured directories /pages and /components, we need to add the respective patterns to the Tailwind config file. Otherwise Tailwind could strip out these classes from the generated CSS in order to optimize it (this will happen if they are not used in any of the configured file patterns).
E.g. if we have a utility function in the /lib directory which provides Tailwind class names, we need to update the Tailwind config as follows:
// tailwind.config.js

module.exports = {
  content: [
    "./pages/**/*.{js,ts,jsx,tsx}",
    "./components/**/*.{js,ts,jsx,tsx}",
+   "./lib/**/*.{js,ts,jsx,tsx}",
  ],
  theme: {
    extend: {},
  },
  plugins: [],
};
Step 5: Deployment
Naturally the easiest deployment option for a Next.js app is Vercel, the company behind Next.js. For GitHub, GitLab, and Bitbucket, there is even a convenient import assistant:
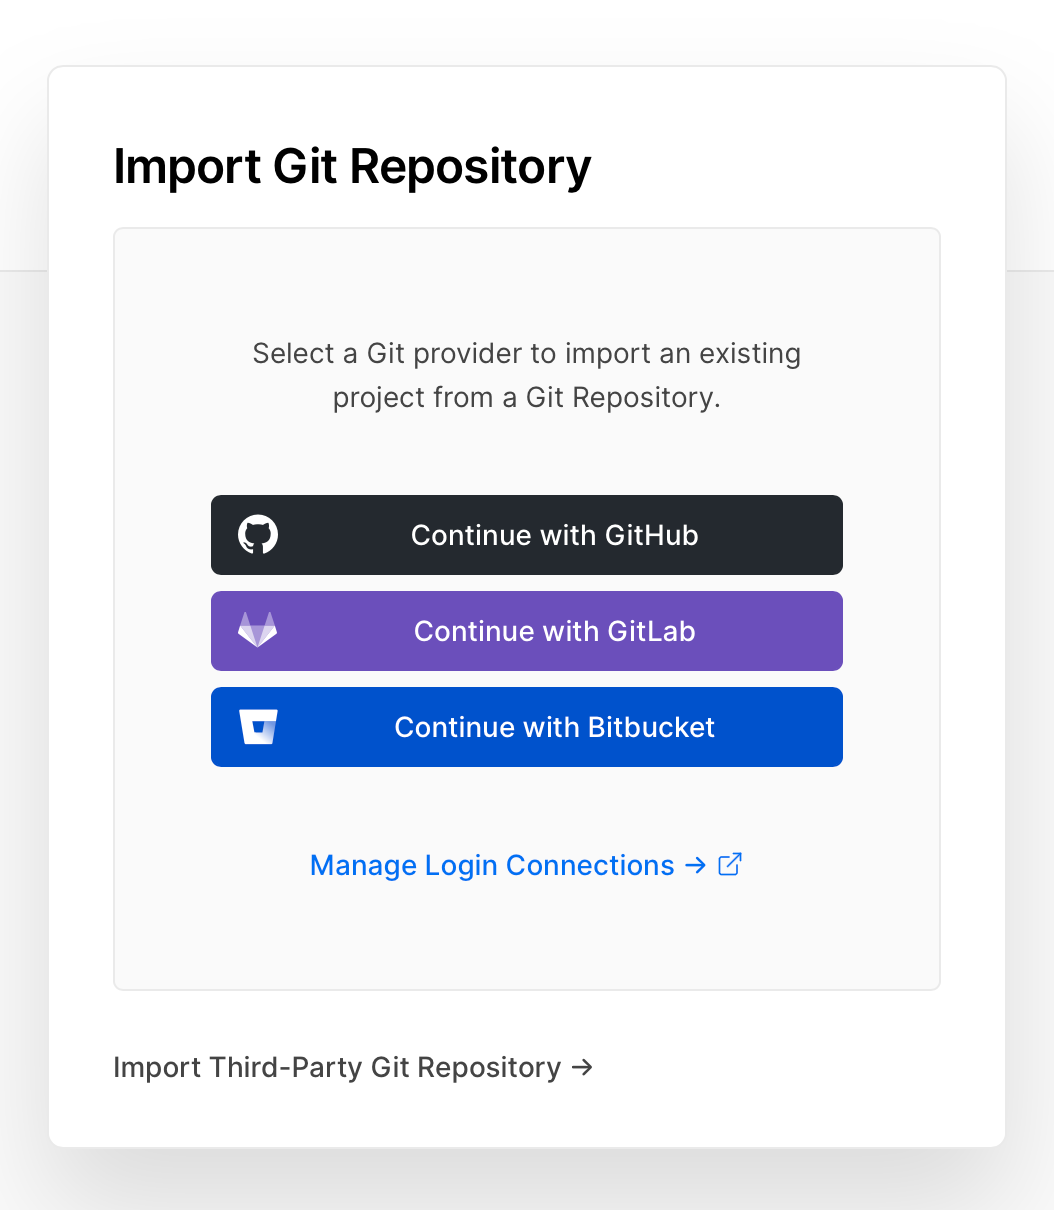
After selecting the repo, the app can be initially deployed. Vercel will detect the Next.js app automatically, the deployment configuration can be left on its default values.
For more guidance on the deployment, check out the Next.js tutorial.
Final thoughts
It would of course be much easier to have a Next.js example with this setup. Then we would just have to specify the example when executing Create Next App:
$ pnpm create next-app -- --example <example-name>Maybe I'll look into creating such an example soon. On the other hand, web technology evolves fast, so I might want to modify this setup anyway someday. The cheat sheet allows for easy adaptions along the way and at the same time makes it easy to understand the setup completely.
If you have any questions or comments on this cheat sheet, I'd be happy to hear from you on Twitter! Which Next.js setup are you using?